
Posted on May 6, 2024
Elevate Your Filming with a Ceiling Camera Mount: A Complete Guide
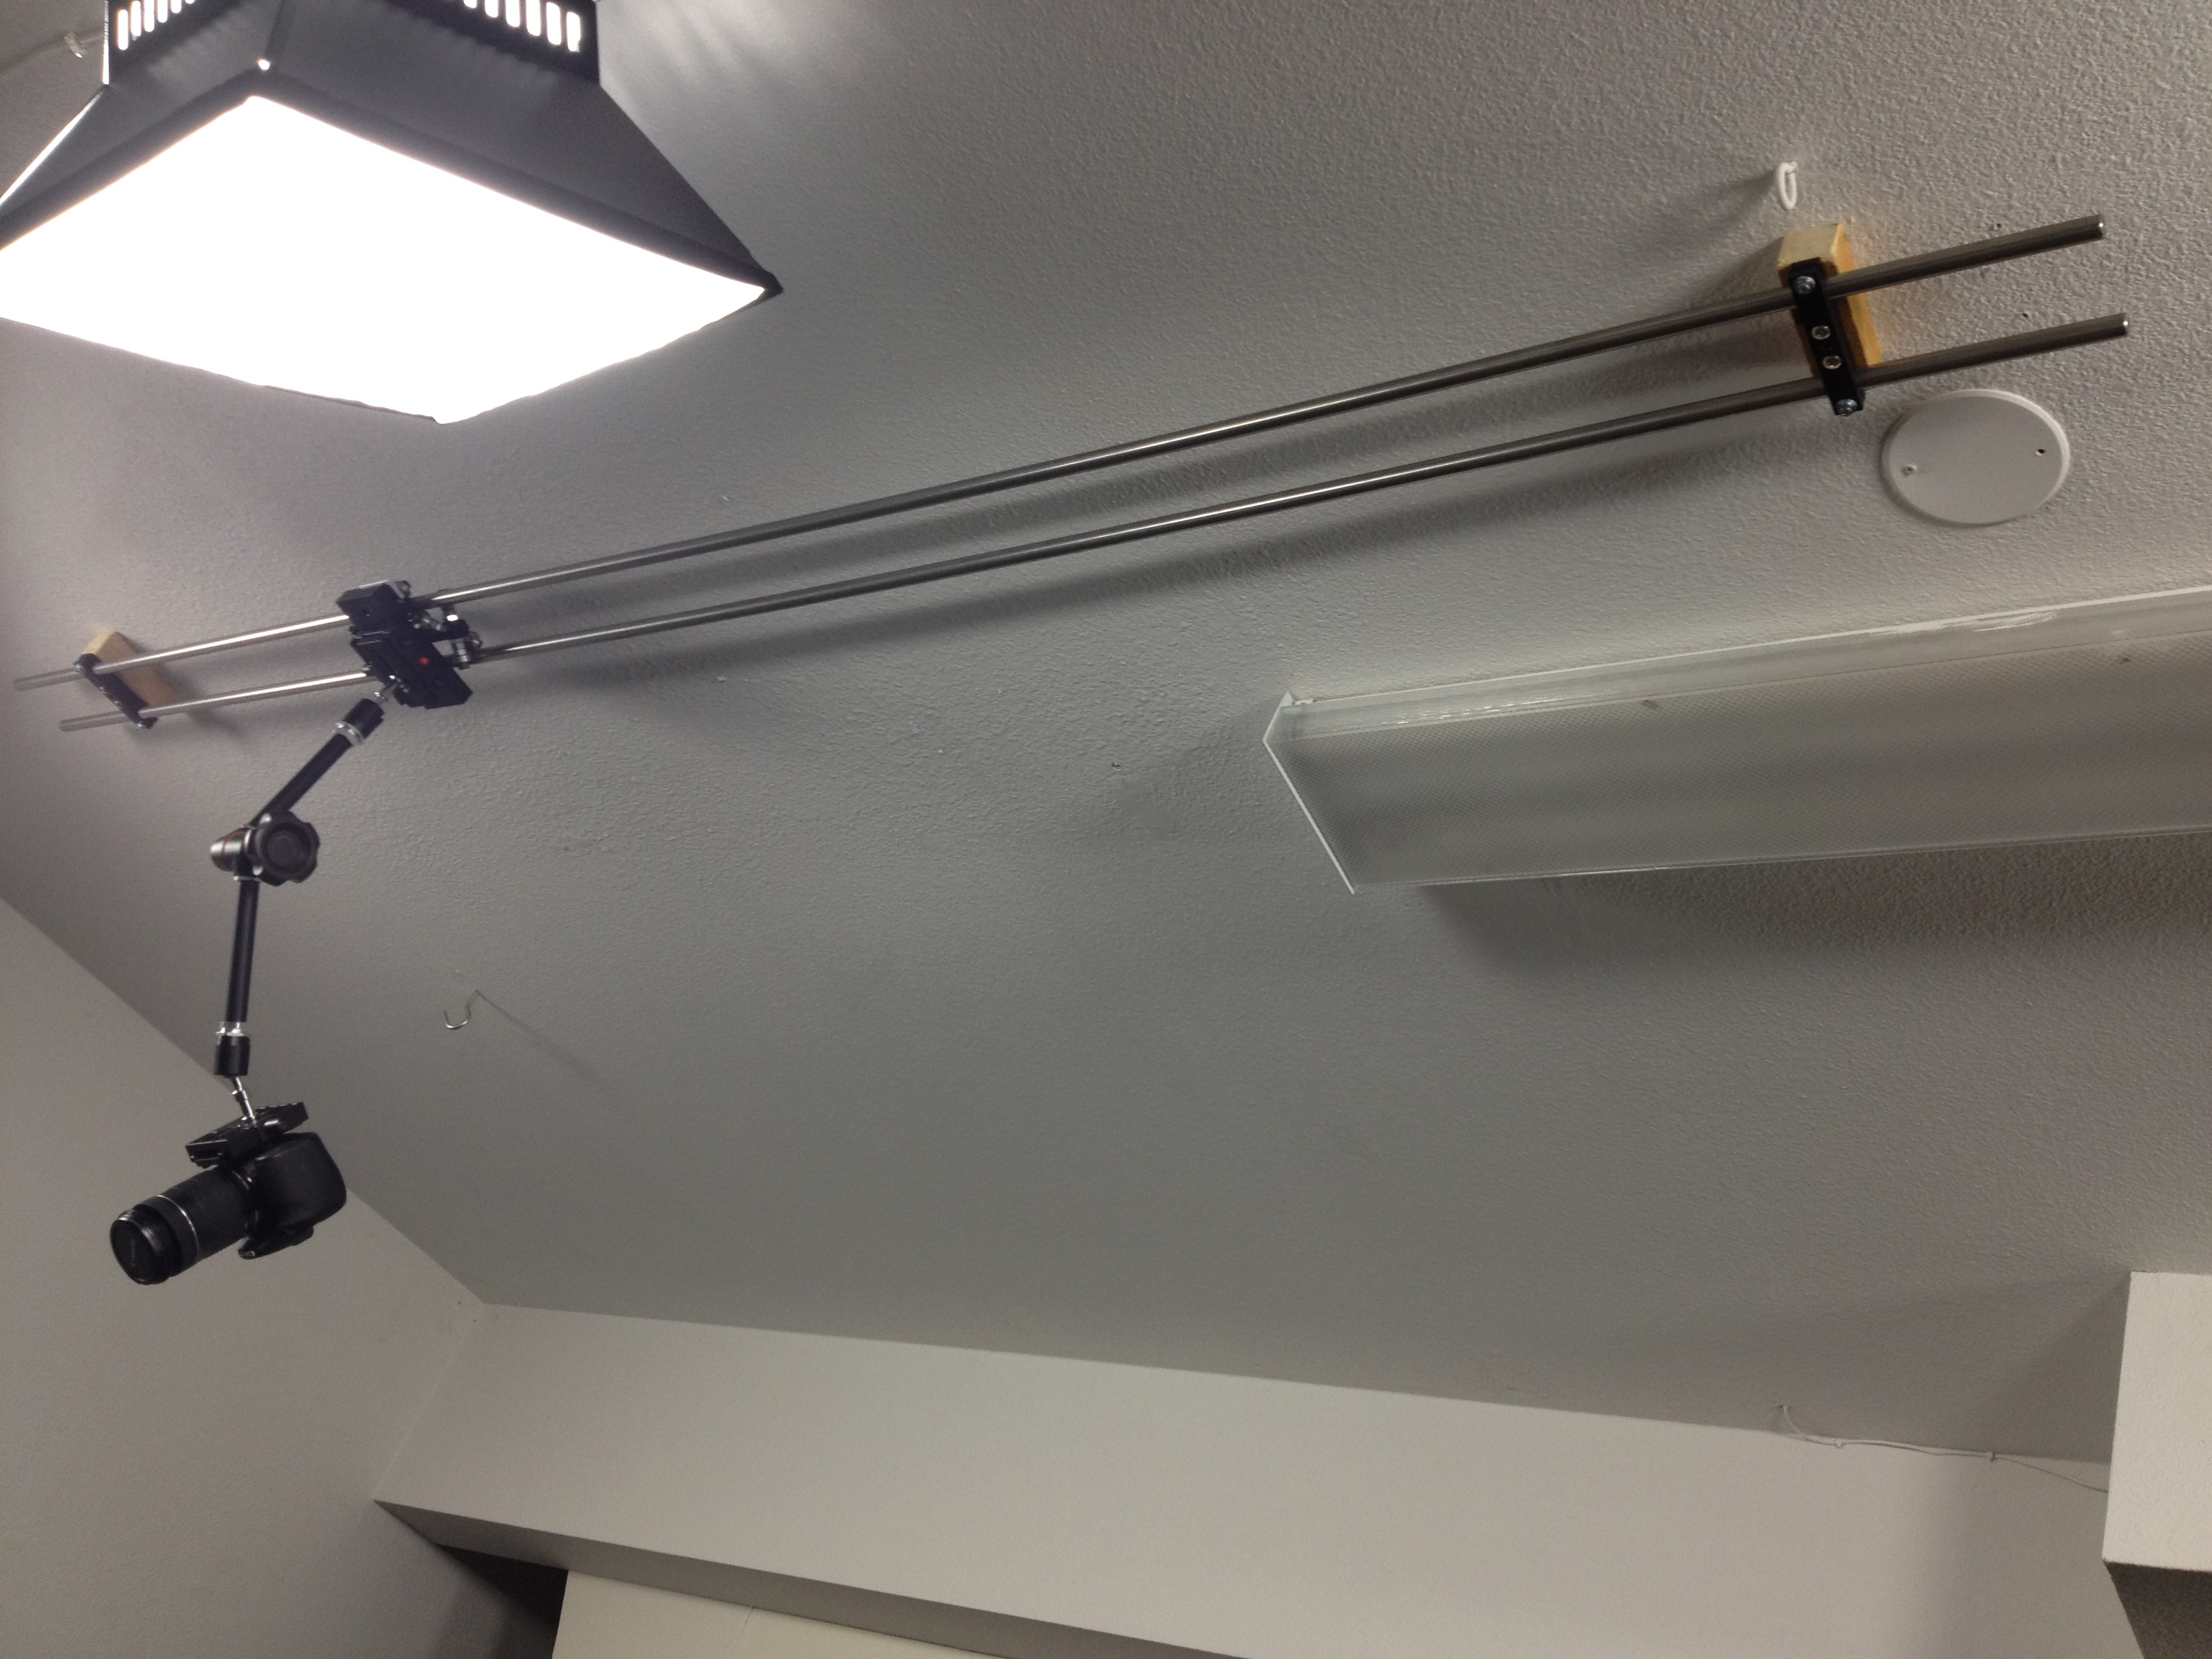
Image Source: Google
Filming from unique angles can add a creative touch to your videos and capture perspectives that you wouldn't be able to achieve with traditional camera setups. One way to take your filming to the next level is by using a ceiling camera mount. Whether you're shooting a top-down cooking tutorial, a time-lapse of a busy workspace, or a captivating vlog, a ceiling camera mount can help you achieve professional-looking footage with ease.
Why Choose a Ceiling Camera Mount?
There are several reasons why a ceiling camera mount can be a valuable addition to your filming setup:
- Unique Perspectives: Capture overhead shots that give your videos a fresh and dynamic look.
- Hands-Free Filming: Keep your camera steady and secure while you focus on your subject.
- Space Saving: Mounting your camera on the ceiling frees up floor space and reduces clutter in your filming area.
- Professional Quality: Achieve smooth and stable footage that rivals that of professional productions.
Choosing the Right Ceiling Camera Mount
When selecting a ceiling camera mount, there are a few key factors to consider:
Weight Capacity
Make sure the ceiling camera mount you choose can support the weight of your camera and any additional accessories you plan to use, such as lights or microphones.
Adjustability
Look for a mount that offers a range of adjustable settings, such as height, tilt, and swivel, to give you flexibility in setting up your shots.
Compatibility
Ensure that the mount is compatible with your camera model and that it includes any necessary adapters or mounting plates.
Setting Up Your Ceiling Camera Mount
Once you've selected the right ceiling camera mount for your filming needs, it's time to set it up for use. Follow these steps to ensure a secure and stable installation:
Locate a Secure Mounting Point
Choose a sturdy ceiling beam or joist to attach your camera mount. Use a stud finder to locate the most secure mounting point.
Attach the Mounting Hardware
Securely attach the mounting hardware to the ceiling, following the manufacturer's instructions carefully. Use appropriate screws and anchors to ensure a stable mount.
Mount Your Camera
Attach your camera to the ceiling mount according to the provided instructions. Make sure the camera is securely fastened and balanced to prevent any accidents.
Tips for Filming with a Ceiling Camera Mount
To make the most of your ceiling camera mount, consider the following tips:
- Plan Your Shots: Visualize the angles and shots you want to capture before filming to ensure a smooth and efficient production process.
- Use a Remote Trigger: Invest in a remote trigger or smartphone app to control your camera wirelessly and avoid shaking the camera while filming.
- Adjust Lighting: Consider the lighting conditions in your filming area and make adjustments to ensure optimal exposure and clarity in your footage.
- Experiment with Angles: Take advantage of the overhead perspective to explore different angles and add visual interest to your videos.
Conclusion
A ceiling camera mount can be a game-changer for your filming projects, allowing you to capture unique perspectives and achieve professional-looking footage with ease. By selecting the right mount, setting it up properly, and following our tips for filming, you can elevate the quality of your videos and impress your audience with engaging and dynamic content. So why wait? Invest in a ceiling camera mount today and take your filming to new heights!