
Updated on January 3, 2024
A Guide to Installing Truck Electrical Accessories Safely
Trucks are versatile vehicles that can be used for various purposes. Whether you use your truck for work or play, many electrical accessories can enhance its functionality and convenience. From off-road lights to winches, these accessories can make your truck more capable and enjoyable to use. In this guide, we will provide you with step-by-step instructions on how to install truck electrical accessories safely.
Step 1: Determine the Power Requirements
Before installing any electrical accessory in your truck, it is important to determine its power requirements. This includes the voltage and amperage needed to operate the accessory. You can usually find this information in the accessory’s user manual or on the manufacturer’s website.
Once you have determined the power requirements, you will need to ensure that your truck’s electrical system can handle the additional load. This may involve upgrading your battery or alternator or installing a separate power distribution system. Browse this site if you are looking to buy truck electrical accessories.
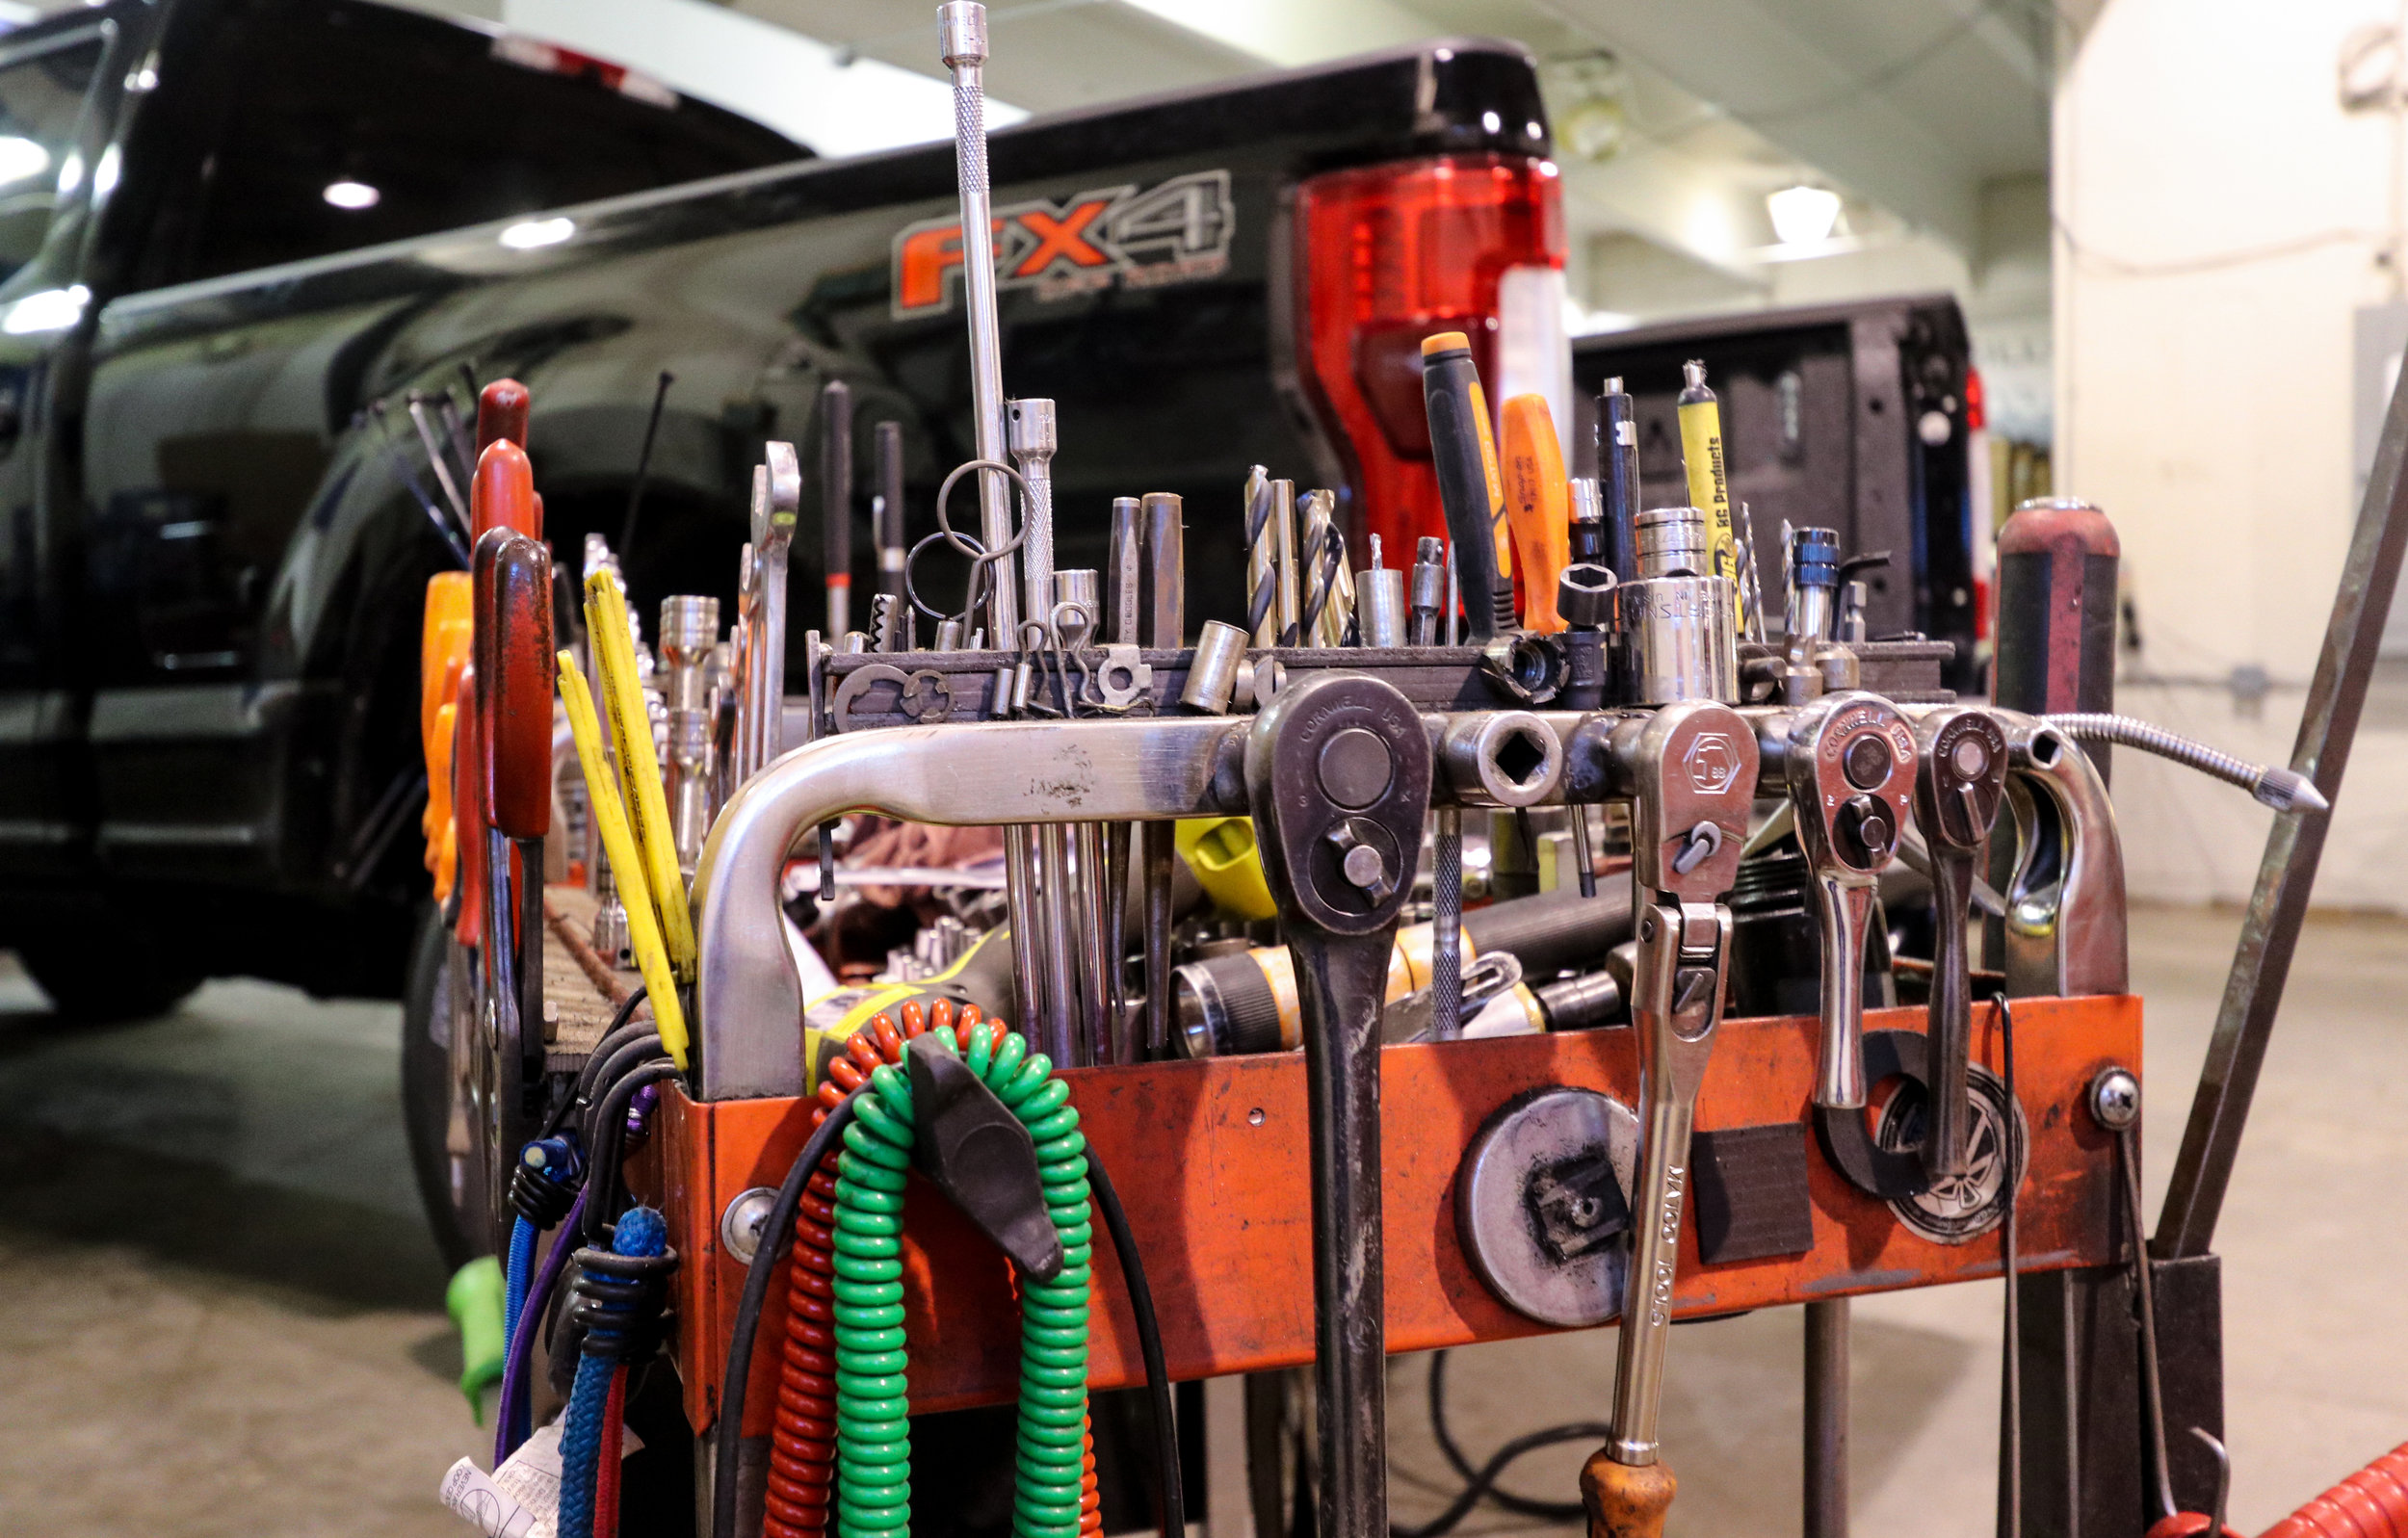
Image Source: Google
Step 2: Gather the Necessary Tools and Materials
Next, gather all the necessary tools and materials for the installation. This may include wire cutters, crimping tools, electrical tape, connectors, fuses, and a multimeter. It is important to use high-quality tools and materials to ensure a secure and reliable connection.
Step 3: Plan the Wiring Route
Before starting the installation, plan the wiring route for the accessory. This involves determining where the accessory will be mounted and how the wiring will be routed from the accessory to the power source. It is important to choose a mounting location that is secure, easily accessible, and does not interfere with other components of the truck.